

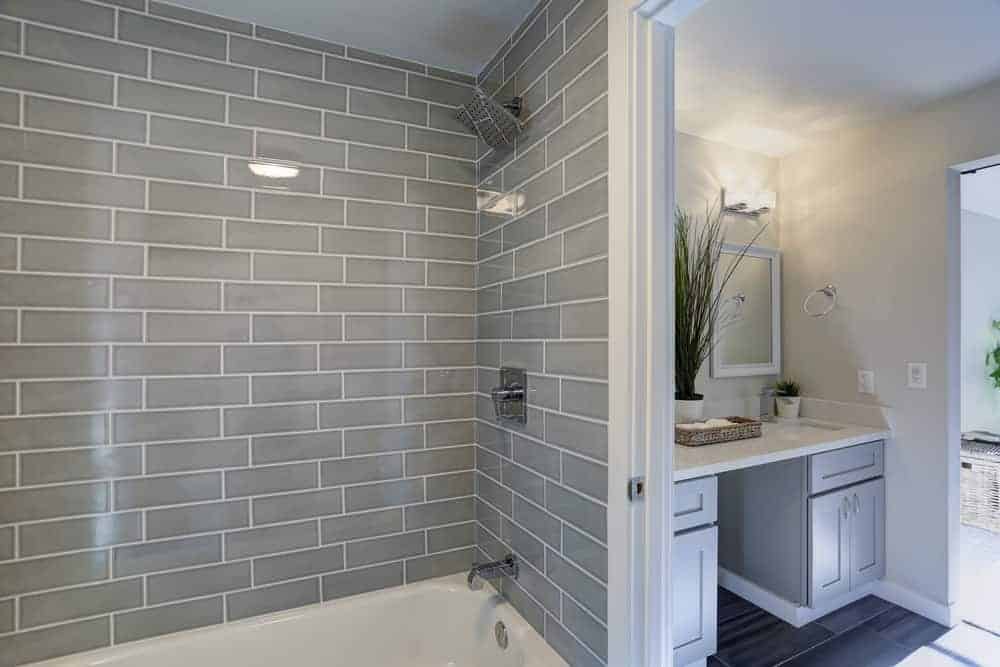
How To Clean Ceramic Tile Shower Stall
Have you ever entered your shower and asked yourself, how on earth am I going to clean all these tiles? If you have, then welcome, we've got you covered. We know cleaning your shower tiles seems overwhelming, especially dirty grout, so we've compiled this guide to show you the best ways to clean your shower tiles without overexerting yourself.
Most of the tools and products you'll need will be already available in your home or at a nearby drugstore. Cleaning your tiles can be pretty easy if you know exactly what you're doing. After following the instructions here, you'll be proud to show off your shower to anyone. Let's begin!
1. Pre-Treat your Shower
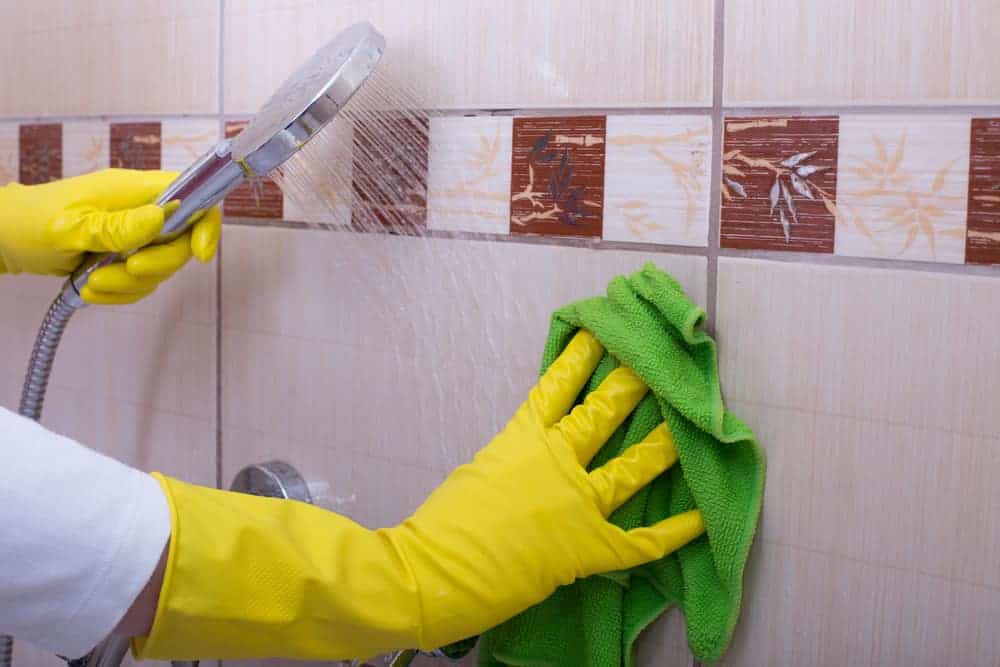
Depending on how dirty your shower is, pretreating it will do it a lot of good. To pretreat the shower, simply run a hot bath for a minimum of ten minutes. Lock your shower door to keep the heat inside.
This process helps to open up the pores in the tiles, and it will make your cleaning more effective. The warm water helps to loosen the most tightly-held dirt in the shower tiles loosen up, so you don't have to scrub too hard.
If you have one of those showers that spray water in all directions, then that's great. If you don't, you can use a handheld shower head to spray the shower tiles on the wall, so nothing is left out.
After ten minutes, gently scrub around all the tiles in a circular motion then leave it to dry. If your shower is not very dirty, you should see results by now, although this might not do so much for the grout.
2. Apply Vinegar
You may have heard this one before, well, whoever told you is right. Vinegar works magic on shower tiles. Mix one part vinegar with one part water and spray the solution on the shower tiles using a spray bottle.
Apply enough of the solution to soak the tiles and ensure you get it into the grout. Leave the shower for about fifteen minutes to thirty minutes.
Vinegar targets the soap scum, and it does a better job of removing it than ordinary hot water.
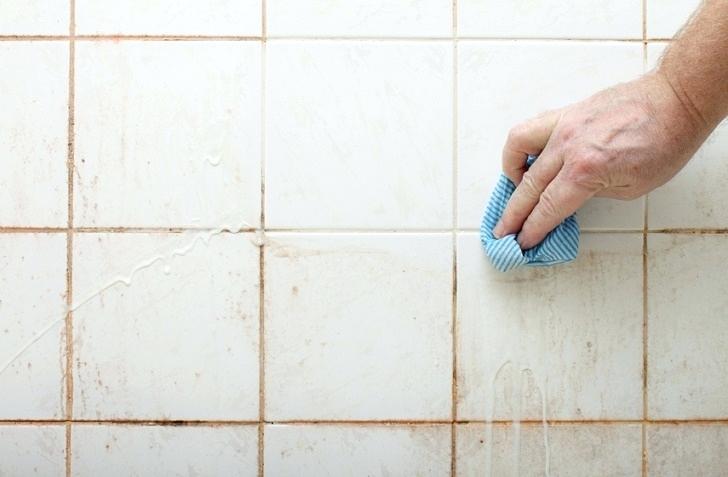
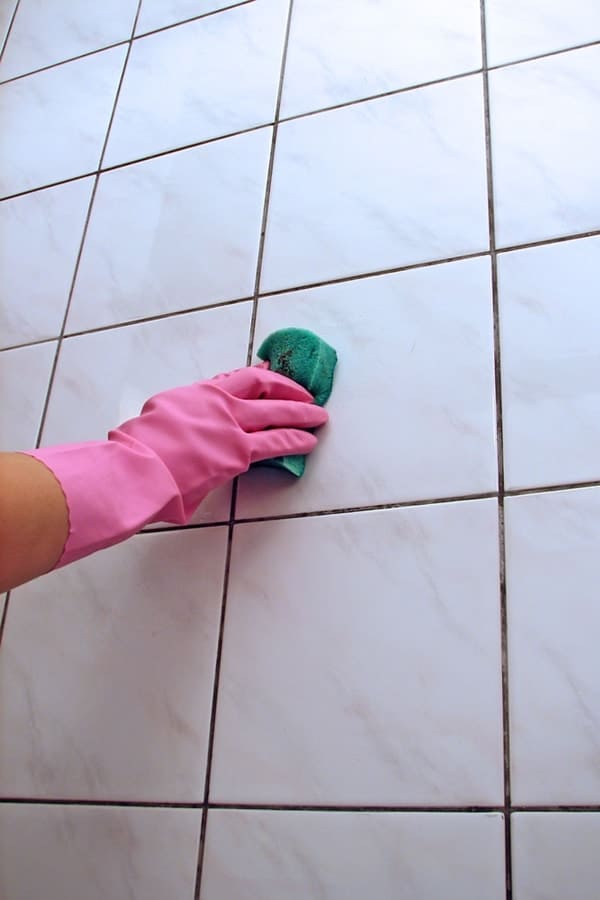
Use a grout brush to scrub the tiles, especially the dirtier areas. If you don't have a grout brush, a scrub brush or toothbrush will do just fine. Turn your hot water back on to rinse the tiles and the grout.
3. Add Baking Soda
Baking soda is very effective with removing grout stains, and it also removes odors from your shower. Form a paste of baking soda and water with the same thickness and consistency as toothpaste.
Rub the baking soda paste into the grout till it's totally covered up. You can also rub it onto areas with stubborn stains. If you've run out of the vinegar solution we just used, make more and spray the solution on the baking soda.
You should notice some bubbling when the vinegar touches the baking soda paste. This way, you're removing grout stain buildup and nasty soap scum at a go. Once the foaming has subsided, use a stiff brush to scrub off the dirt in a circular motion.
Apply pressure if you have to, but remember to wear gloves to protect your hands. You can use a toothbrush to reach crevices and corners, including the spaces behind your shower door.
Rinse the tiles with warm water about two or three times to remove any soap residue. Get a clean dry towel and wipe down the shower tiles to avoid mildew formation in the crevices.
This method works on most showers, but in case your shower is still dirty, the next few tips offer some stronger solutions that will get the job done.
4. Try Hydrogen Peroxide

Don't let the scientific name scare you. Hydrogen peroxide is an environmentally-safe product that you can get at any drugstore near your local drugstore. It is also quite cheap when compared to cleansing products.
To remove mold, mix hydrogen peroxide with twice as much water in a spray bottle and spray the mold growth generously and leave it for about 30 minutes.
If there is still mold on the tiles after thirty minutes, spray more hydrogen peroxide on the affected area and leave for ten minutes. If you're dealing with mildew, spray hydrogen peroxide on the mildew and leave for thirty minutes. Scrub the affected areas with a scrub pad and dry it with a towel.
You can also remove grout stains by applying a paste of hydrogen peroxide and twice as much baking soda. Rub the paste on the grout and let it sit for about 30 minutes. Use a scrub brush to scrub off the grout stains and rinse the tiles and grout, so there is no baking powder residue.
5. Use Oxygen Bleach
Oxygen bleach works for deep shower tile stains, but they are best for cleaning grimy grout. It isn't a common household item, but many brands make the product in powdered form.
Add about three tablespoons of the bleach into a 2-gallon bucket of warm water and mix it for about 30 seconds. Dip your sponge or piece of cloth into the solution and wipe it on the shower tiles. Wipe along the grout lines until they are soaked.
Leave it to sit for about 15 minutes and then rinse it properly with clean water. If you still notice any dirt or stains in the grout after this process, don't worry, you still have one more move.
Mix the powdered oxygen bleach with little water till it forms a sticky paste and apply it onto the affected grout with a grout brush or a toothbrush. If you're using a toothbrush, make sure it's a very sturdy one; don't use old and weak toothbrushes.
Scrub along the grout till its totally gone. Remember to rinse well and aerate your shower.
6. Apply Chlorine Bleach
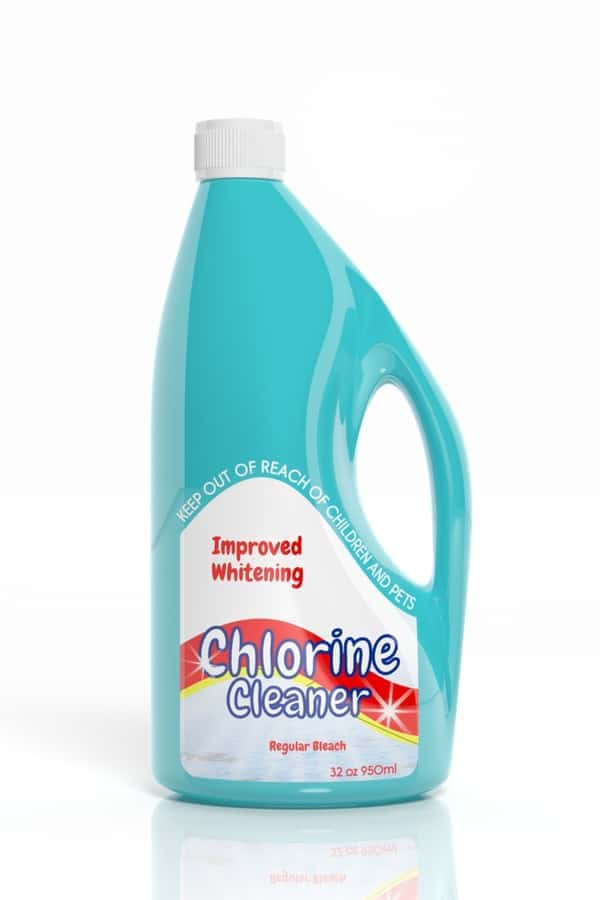
In extreme cases of terribly dirty grout, apply chlorine bleach or cleaning products containing chlorine bleach to clean the grout.
This is a last resort solution because it can cause some damage on fabric, and it has a strong scent. However, the advantage of using chlorine bleach is that it disinfects your shower.
Apply the bleach along the grout and let it sit for 10 minutes. Rinse the shower tiles thoroughly to remove any chemical leftovers. Before applying the chlorine bleach, wash off any vinegar residue as it reacts with the bleach to emit a toxic chlorine gas.
Don't forget; to protect your grout from eroding, this method should only be used when every other method in this guide fails.
7. Remove Calcium deposits on Shower Tile
If you're dealing with hard water stains that have left calcium deposits on your shower tile that your cleaning product can't seem to remove, we have a simple solution for you.
All you need is some common white vinegar and a little bit of time. Douse the shower tiles with white vinegar and let it sit for about 20 minutes. White vinegar is acidic, while hard water deposits are basic; hence, they cancel each other out.
Scrub the affected areas with a sponge and then reapply the white vinegar for another 20 minutes. After 20 minutes, use a nylon scrubber to remove the calcium deposits.
If there are any stubborn crystals still left behind, dip a toothbrush in the white vinegar and scrub it out. Finally, rinse the shower tiles with cool water and dry it with a towel.
Maintaining your Shower Tiles
As long as shower tiles are exposed to water and regular use, scum and fungi like mold and mildew will always form on your shower tiles. However, you can prevent how fast they form and keep your tiles clean for longer periods with these tips:
- Switch to soap that leaves lesser residue on your shower tile. Alternatively, you can use liquid soap, which does not leave any residue or soap scum.
- Use water softeners to prevent calcium or magnesium buildup on your shower tiles.
- Spray the shower tiles with vinegar solution at least thrice in a week after your shower. Make sure to label the vinegar spray correctly and keep them away from children.
- Squeegee the walls and floor of the shower daily after showering to remove any dirt.
- Use a dedicated towel to give your shower a quick rub down at least once a day.
- Aerate your shower by opening the windows or doors often. The drier your shower tile is, the harder it is for it to form mold and mildews from dampness.
- Seal up your grout from often so it doesn't interfere with the glow of your shower tile.
Conclusion
A well-designed shower can lose its beauty if it's not properly cleaned and maintained. However, that won't be your shower. With just 30 minutes to spare and some household ingredients, you can now maintain a clean shower with tiles that shine.
Have you tried any of our suggestions before? Which one of them worked for you? Let us know in the comments below.
How To Clean Ceramic Tile Shower Stall
Source: https://www.sunrisespecialty.com/how-to-clean-shower-tiles
Posted by: johnsonbigod2001.blogspot.com
0 Response to "How To Clean Ceramic Tile Shower Stall"
Post a Comment